Introduction
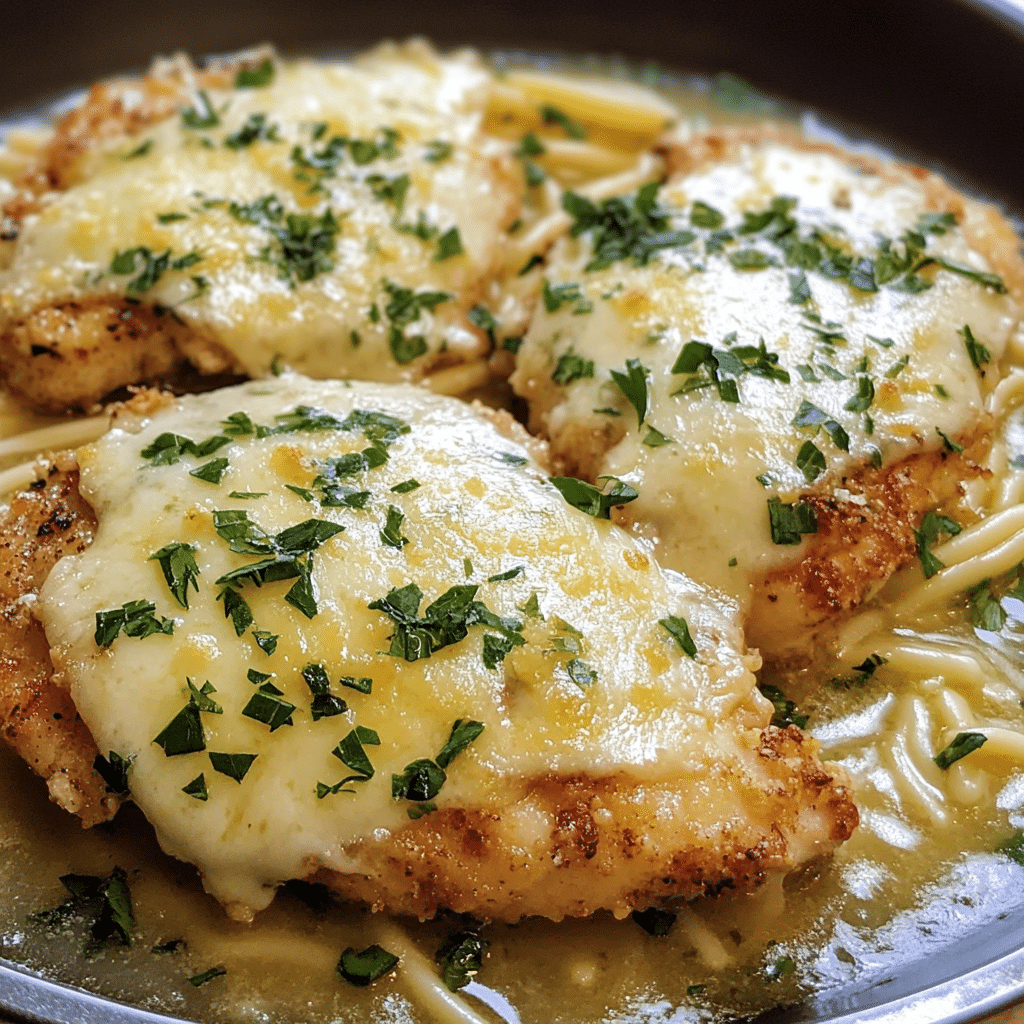
There’s something about the bright, zesty flavor of lemon paired with the rich, savory taste of chicken that makes it feel like the perfect combination. Enter Lemon Chicken Romano – a dish that’s light yet satisfying, with just the right amount of citrusy punch. This recipe is a little slice of sunshine on a plate, with golden, crispy chicken breast, coated in Romano cheese and pan-fried to perfection. Add a burst of fresh lemon juice at the end, and it’s an instant classic that’ll quickly become a favorite in your household.
When I first tried making Lemon Chicken Romano, I was on a mission to create a dish that could be served on a weeknight but still feel like something special. After a few test runs, this recipe was born – and trust me, it’s the kind of meal that impresses even on a busy evening. What I love most about it is how simple the ingredients are, yet the flavors are so rich and satisfying. Plus, it’s so easy to make, and you don’t need any fancy equipment to get a restaurant-quality meal at home.
Let’s dive in and make this your go-to recipe for a delicious, citrusy comfort meal. Whether you’re cooking for yourself or entertaining guests, this one is sure to be a hit!
Why You’ll Love This Recipe
If you’re looking for a recipe that’s quick, easy, and full of flavor, then Lemon Chicken Romano is calling your name. Here’s why you’ll love it:
- Easy to Make: With just a handful of ingredients, you can have this dish ready in less than 30 minutes. The prep is simple, and the steps are quick, so you won’t be spending hours in the kitchen.
- Family-Friendly: The crispy chicken, combined with the bright lemon flavor, makes this dish perfect for kids and adults alike. You can easily make it for a family dinner or when you’ve got friends over.
- Crispy, Flavorful Chicken: The Romano cheese adds an irresistible layer of flavor to the chicken, and when paired with the fresh lemon, it’s like a burst of deliciousness in every bite.
- No Special Ingredients Needed: Most of the ingredients in this dish are pantry staples, so you won’t have to make an extra trip to the store.
This recipe is the perfect balance of crispy and juicy, savory and citrusy, and it’s so easy to pull off. Plus, it pairs beautifully with a side of pasta or roasted vegetables. I’m pretty sure once you try it, you’ll be making it again and again.
Preparation Time and Servings
- Total Time: 30 minutes
- Servings: 4
Nutrition Facts
- Calories per serving: 380
- Protein: 35g
- Carbs: 10g
- Fat: 22g
Ingredients
Here’s what you’ll need to make Lemon Chicken Romano:
- 4 boneless, skinless chicken breasts – The star of the dish! You want them pounded thin so they cook quickly and evenly.
- ½ cup all-purpose flour – For dredging the chicken to get that crispy coating.
- 1 teaspoon garlic powder – To add a little extra savory flavor.
- 1 teaspoon onion powder – Complementing the garlic, this adds depth to the dish.
- 1 teaspoon salt – To season the chicken and the flour.
- ½ teaspoon black pepper – For a little kick.
- 1 cup Romano cheese, grated – This is what makes the crust on the chicken rich and flavorful.
- 2 large eggs – For dipping the chicken before coating it in the flour mixture.
- 1 tablespoon olive oil – For frying the chicken and getting it nice and crispy.
- 1 tablespoon butter – Adds richness to the sauce.
- 2 tablespoons lemon juice – Fresh is best here, as it really gives the dish its signature flavor.
- Lemon zest, for garnish – A little extra zest goes a long way in brightening up the dish.
- Fresh parsley, chopped, for garnish – Adds a pop of color and a fresh note to the dish.
Step-by-Step Instructions
Now, let’s get cooking! Follow these easy steps to make Lemon Chicken Romano that’s crispy on the outside, juicy on the inside, and bursting with flavor.
- Prep the Chicken
Start by preparing the chicken breasts. You want them thin, so they cook quickly and get that delicious crispy crust. Place each chicken breast between two sheets of plastic wrap or parchment paper and gently pound them to about ½ inch thick using a meat mallet. This helps them cook evenly. Once they’re pounded, season both sides with salt and pepper. - Prepare the Dredging Station
In a shallow dish, combine the flour, garlic powder, onion powder, salt, and black pepper. In another shallow dish, whisk the eggs until they’re fully combined. Finally, in a third dish, add the grated Romano cheese. - Coat the Chicken
Now comes the fun part! First, dip each piece of chicken into the flour mixture, coating it evenly on both sides. Then, dip it into the beaten eggs, allowing any excess to drip off. Finally, press the chicken into the Romano cheese, making sure to coat it thoroughly. You want the chicken to be well-covered in that cheesy goodness, as this will give it a crispy, flavorful crust when it’s fried. - Cook the Chicken
In a large skillet, heat the olive oil over medium-high heat. Once it’s hot, carefully place the chicken breasts in the pan, making sure not to crowd them. Cook for about 4-5 minutes per side, or until the chicken is golden brown and cooked through. You may need to work in batches depending on the size of your skillet. Once the chicken is cooked, remove it from the skillet and set it aside on a plate. - Make the Lemon Sauce
In the same skillet, add the butter and let it melt. Once it’s melted, pour in the lemon juice and stir to combine, scraping up any bits of chicken that are stuck to the pan. This will add flavor to the sauce. Let the sauce simmer for about 2-3 minutes to thicken slightly. - Finish the Dish
Place the chicken back in the pan and spoon some of the lemon sauce over the top. Let the chicken soak up a little of that delicious lemony goodness for about 1-2 minutes. - Garnish and Serve
Remove the chicken from the pan and place it on a serving platter. Drizzle with the remaining lemon sauce and garnish with fresh lemon zest and chopped parsley. Serve immediately with your favorite side dishes.

How to Serve
This Lemon Chicken Romano is delicious on its own, but it pairs beautifully with a variety of side dishes. Here are some ideas for how to serve it:
- Serve over pasta: I love serving this with spaghetti or fettuccine for a complete meal. The lemon sauce coats the pasta so beautifully!
- Pair with roasted vegetables: Roasted asparagus, Brussels sprouts, or even carrots make a great side to balance out the richness of the chicken.
- Side Salad: A simple side salad with mixed greens, cherry tomatoes, and a light vinaigrette will complement the chicken perfectly.
Additional Tips
Here are some tips to make sure your Lemon Chicken Romano turns out perfectly every time:
- Use thin chicken breasts: Thin chicken breasts cook faster and evenly, ensuring that the crust stays crispy. If your chicken breasts are thick, slice them in half horizontally to create thinner pieces.
- Don’t overcrowd the pan: If you try to cook too many pieces of chicken at once, they won’t get crispy. Work in batches if needed.
- Let the chicken rest: After cooking, let the chicken rest for a few minutes before serving. This helps the juices redistribute and keeps the chicken juicy.
- Use fresh lemon juice: For the best flavor, make sure to use fresh lemon juice rather than bottled juice. The freshness really shines through!
- Make it ahead: You can prep the chicken and coat it in the flour, egg, and Romano cheese mixture ahead of time. Just store it in the fridge for up to 2 hours before cooking.
Recipe Variations
If you want to change things up a little, here are some ideas for variations on Lemon Chicken Romano:
- Chicken Romano with a creamy twist: After cooking the chicken, add a splash of cream to the lemon sauce to make it richer.
- Add a kick: For a spicy twist, add a pinch of red pepper flakes to the lemon sauce.
- Make it gluten-free: Swap out the flour for a gluten-free alternative like rice flour or cornstarch to make this recipe gluten-free.
Serving Suggestions
If you want to make your meal extra special, here are some ideas for sides and drinks that pair perfectly with Lemon Chicken Romano:
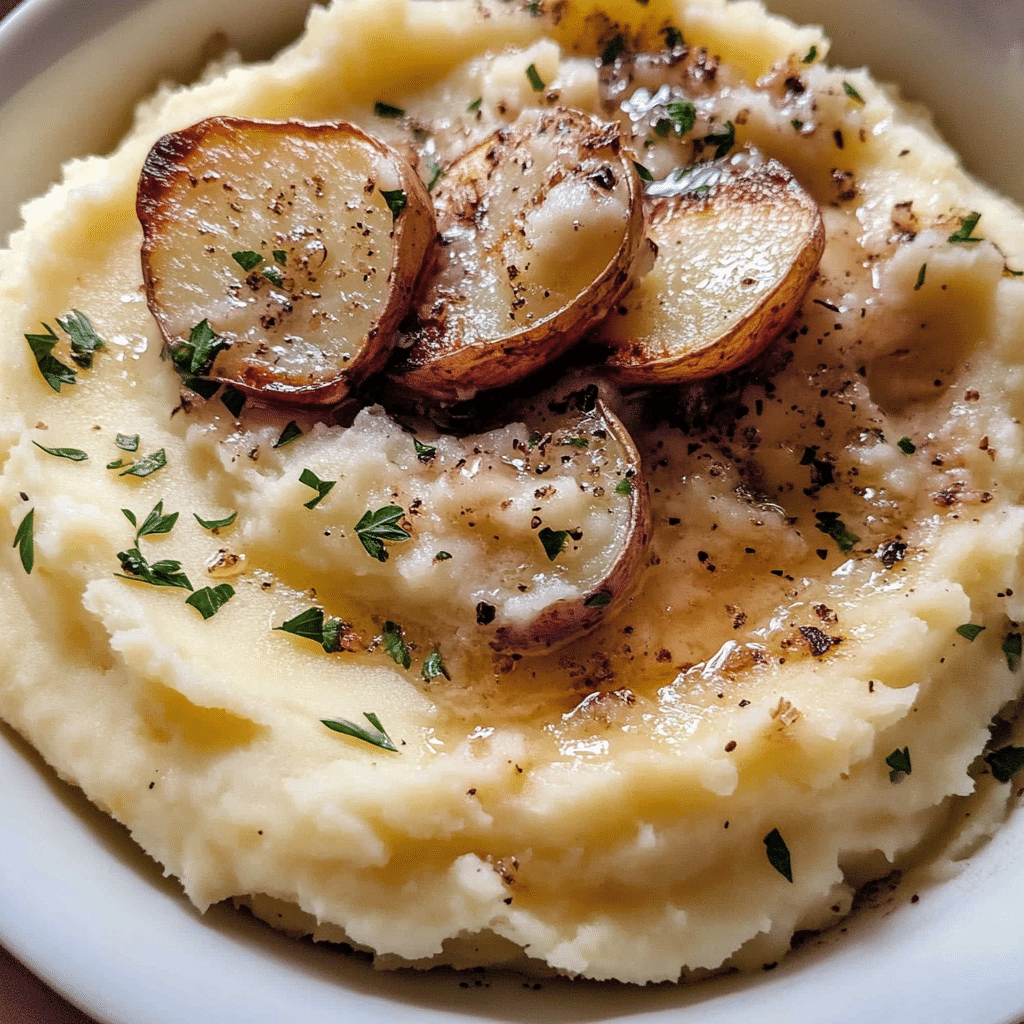
- Side Dishes: Serve with mashed potatoes, roasted sweet potatoes, or a quinoa salad.
- Wine Pairings: A crisp, refreshing white wine like Chardonnay or Sauvignon Blanc will pair beautifully with the lemony chicken.
- For kids: Serve over buttered noodles or with soft dinner rolls for a kid-friendly option.
Freezing and Storage
This recipe makes great leftovers, and it’s easy to store and freeze. Here’s how:
- Storage: Store leftover chicken in an airtight container in the fridge for up to 3 days.
- Freezing: If you want to freeze the chicken, let it cool completely, then place it in an airtight container or freezer bag. It will keep for up to 3 months. Reheat in the oven at 350°F until heated through.
Special Equipment
You don’t need any fancy tools to make this dish, but here are a couple of items that will make things easier:
- Skillet: A large, heavy-bottomed skillet works best for frying the chicken.
- Meat Mallet: If you don’t have a meat mallet, you can use a rolling pin to pound the chicken.
FAQ Section
Can I use store-bought Romano cheese?
Yes, you can! Just make sure to grate it yourself for the best texture. Pre-grated cheese can sometimes be too dry and not adhere as well to the chicken.
Can I make this recipe ahead of time?
Yes! You can prep the chicken, coat it with the Romano mixture, and store it in the fridge for up to 2 hours before cooking.
Can I use chicken thighs instead of chicken breasts?
Yes, chicken thighs work great in this recipe, and they’ll be extra juicy! Just adjust the cooking time to ensure they’re fully cooked.
How do I store leftovers?
Store leftover chicken in an airtight container in the fridge for up to 3 days. To reheat, pop it in the oven at 350°F for about 10 minutes.

Lemon Chicken Romano
- Total Time: 30 minutes
Ingredients
- 4 boneless, skinless chicken breasts – The star of the dish! You want them pounded thin so they cook quickly and evenly.
- ½ cup all-purpose flour – For dredging the chicken to get that crispy coating.
- 1 teaspoon garlic powder – To add a little extra savory flavor.
- 1 teaspoon onion powder – Complementing the garlic, this adds depth to the dish.
- 1 teaspoon salt – To season the chicken and the flour.
- ½ teaspoon black pepper – For a little kick.
- 1 cup Romano cheese, grated – This is what makes the crust on the chicken rich and flavorful.
- 2 large eggs – For dipping the chicken before coating it in the flour mixture.
- 1 tablespoon olive oil – For frying the chicken and getting it nice and crispy.
- 1 tablespoon butter – Adds richness to the sauce.
- 2 tablespoons lemon juice – Fresh is best here, as it really gives the dish its signature flavor.
- Lemon zest, for garnish – A little extra zest goes a long way in brightening up the dish.
- Fresh parsley, chopped, for garnish – Adds a pop of color and a fresh note to the dish.
Instructions
- Prep the Chicken
Start by preparing the chicken breasts. You want them thin, so they cook quickly and get that delicious crispy crust. Place each chicken breast between two sheets of plastic wrap or parchment paper and gently pound them to about ½ inch thick using a meat mallet. This helps them cook evenly. Once they’re pounded, season both sides with salt and pepper. - Prepare the Dredging Station
In a shallow dish, combine the flour, garlic powder, onion powder, salt, and black pepper. In another shallow dish, whisk the eggs until they’re fully combined. Finally, in a third dish, add the grated Romano cheese. - Coat the Chicken
Now comes the fun part! First, dip each piece of chicken into the flour mixture, coating it evenly on both sides. Then, dip it into the beaten eggs, allowing any excess to drip off. Finally, press the chicken into the Romano cheese, making sure to coat it thoroughly. You want the chicken to be well-covered in that cheesy goodness, as this will give it a crispy, flavorful crust when it’s fried. - Cook the Chicken
In a large skillet, heat the olive oil over medium-high heat. Once it’s hot, carefully place the chicken breasts in the pan, making sure not to crowd them. Cook for about 4-5 minutes per side, or until the chicken is golden brown and cooked through. You may need to work in batches depending on the size of your skillet. Once the chicken is cooked, remove it from the skillet and set it aside on a plate. - Make the Lemon Sauce
In the same skillet, add the butter and let it melt. Once it’s melted, pour in the lemon juice and stir to combine, scraping up any bits of chicken that are stuck to the pan. This will add flavor to the sauce. Let the sauce simmer for about 2-3 minutes to thicken slightly. - Finish the Dish
Place the chicken back in the pan and spoon some of the lemon sauce over the top. Let the chicken soak up a little of that delicious lemony goodness for about 1-2 minutes. - Garnish and Serve
Remove the chicken from the pan and place it on a serving platter. Drizzle with the remaining lemon sauce and garnish with fresh lemon zest and chopped parsley. Serve immediately with your favorite side dishes.
Nutrition
- Serving Size: 4
- Calories: 380
- Fat: 22g
- Carbohydrates: 10g
- Protein: 35g
Conclusion
I can’t wait for you to try this Lemon Chicken Romano! The crispy, cheesy chicken paired with that bright lemony sauce is absolutely irresistible. Plus, it’s quick and easy enough to make on a weeknight, but fancy enough to serve to guests. Don’t forget to snap a photo and tag me on Instagram when you make it—I love seeing how your creations turn out!

