Introduction
Who doesn’t love a warm, gooey cinnamon roll fresh out of the oven? It’s like a cozy hug in food form. I’ve always had a special place in my heart for these rolls, and over the years, they’ve become a family tradition. We bake them on special weekends, lazy Sunday mornings, or whenever we need a sweet pick-me-up.
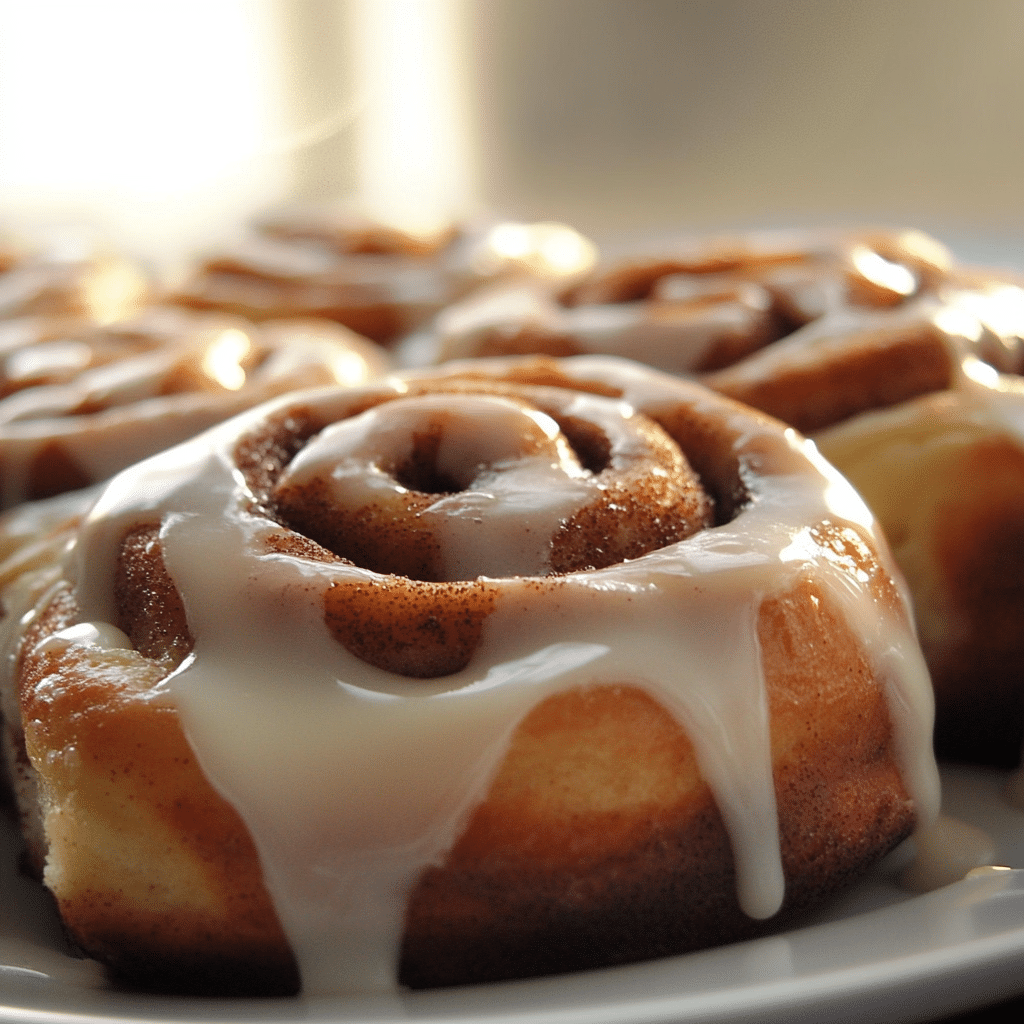
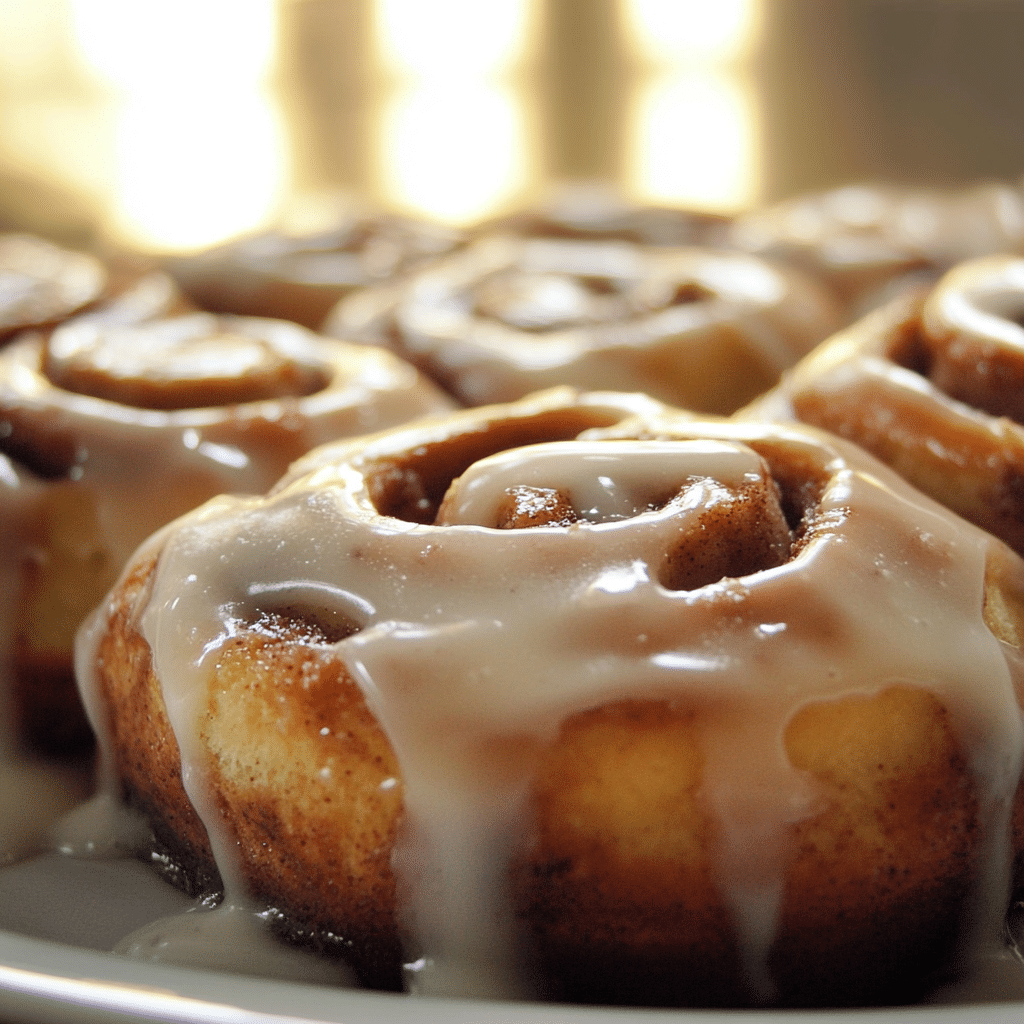
What makes this cinnamon roll recipe stand out is its pillowy-soft dough, swirled with just the right amount of cinnamon sugar and finished with a creamy glaze that melts into every crevice. It’s surprisingly easy to make—even if you’ve never tried working with yeast before! Don’t worry, I’ve got plenty of tips to walk you through each step and ensure your cinnamon rolls turn out perfectly soft and gooey every time.
Why You’ll Love This Recipe
- Foolproof Dough: Soft, fluffy, and forgiving, this dough is beginner-friendly and gives perfect rolls every time.
- Irresistible Cinnamon Filling: With a mix of brown sugar and cinnamon, the filling caramelizes as it bakes, adding a sweet depth that pairs perfectly with the dough.
- Creamy Glaze: This recipe finishes with a classic glaze that seeps into the rolls, adding just the right amount of sweetness without overpowering the cinnamon.
- Perfect for Sharing: These rolls make an ideal centerpiece for any brunch or special breakfast, and they’re easy to double if you need to feed a crowd.
Preparation Time and Servings
- Total Time: 3 hours (includes rise time)
- Active Time: 30 minutes
- Servings: Makes 12 large cinnamon rolls
- Nutrition: Approx. 420 calories per roll
Ingredients
Dough:
- 1 cup warm milk (110°F)
- 2 ¼ tsp active dry yeast
- ⅓ cup granulated sugar
- 4 tbsp unsalted butter, melted
- 2 large eggs
- 4 cups all-purpose flour
- 1 tsp salt
Filling:
- ¾ cup brown sugar, packed
- 2 ½ tbsp ground cinnamon
- ¼ cup unsalted butter, softened
Glaze:
- 1 ½ cups powdered sugar
- 3-4 tbsp milk
- 1 tsp vanilla extract
Step-by-Step Instructions
1. Activate the Yeast
- In a mixing bowl, combine warm milk with sugar. Sprinkle in the yeast and let it sit for 5-10 minutes, or until it’s frothy.
- Tip: Make sure the milk is around 110°F—warm, but not hot, so it doesn’t kill the yeast.
2. Make the Dough
- Add the melted butter and eggs to the yeast mixture. Stir until combined.
- Gradually add flour and salt, mixing with a wooden spoon until a dough forms. Knead the dough on a floured surface for about 8 minutes, or until smooth and elastic.
- Place the dough in a greased bowl, cover it with a clean towel, and let it rise in a warm place for about 1-1.5 hours, or until it has doubled in size.
- Encouragement: If the dough is sticky at first, don’t worry! As you knead, it will become more elastic and less sticky.
3. Prepare the Filling
- In a small bowl, mix the brown sugar and cinnamon. Set aside.
- Tip: If you like an extra gooey filling, add a tablespoon of honey or maple syrup to the mix.
4. Roll Out the Dough
- After the dough has risen, punch it down to release any air bubbles.
- Roll it out on a floured surface into a rectangle, about 16×12 inches.
- Encouragement: Don’t worry if your rectangle isn’t perfect. It won’t affect the final taste!
5. Spread the Filling
- Using a spatula, spread softened butter over the dough.
- Sprinkle the cinnamon-sugar mixture evenly over the buttered dough.
- Extra Tip: Leave a 1-inch border on one edge to help seal the rolls when you roll them up.
6. Roll and Cut the Dough
- Starting from the longer side, roll the dough tightly into a log.
- Slice the log into 12 equal pieces. Place the rolls in a greased 9×13-inch baking dish, leaving a little space between each.
- Tip: Use a piece of thread or dental floss to cut the dough—this helps keep the layers intact.
7. Second Rise
- Cover the dish with a towel and let the rolls rise again for 30-45 minutes.
- Encouragement: Don’t rush this step! This rise gives the rolls that soft, pillowy texture.
8. Bake the Rolls
- Preheat the oven to 350°F.
- Bake the rolls for 20-25 minutes, or until golden brown.
- Tip: If the rolls are browning too quickly, cover them with foil for the last 5 minutes.
9. Make the Glaze
- While the rolls are baking, whisk together powdered sugar, milk, and vanilla until smooth.
- Tip: Adjust the glaze’s thickness by adding more powdered sugar (for a thicker glaze) or more milk (for a thinner glaze).
10. Glaze and Serve
- Pour the glaze over the warm rolls, letting it seep into every crevice.
- Serve immediately and enjoy every gooey bite!
How to Serve
- Classic: Serve warm with a side of fresh fruit.
- Brunch Favorite: Pair with a cozy cup of coffee or a hot latte.
- Add a Twist: Top with chopped pecans or a sprinkle of sea salt for extra texture and flavor.
Additional Tips
- Use Room Temperature Ingredients: Let butter and eggs sit out to reach room temperature before starting the dough. This helps the dough rise better.
- Double Rise for Extra Soft Rolls: The two rising times make the rolls extra fluffy—don’t skip either rise!
- Make-Ahead Option: You can prep the rolls the night before and let them rise overnight in the fridge.
- Freezing Tip: You can freeze unbaked rolls on a baking sheet, then store them in a zip-top bag for up to 3 months.
- Prevent Overbaking: For the softest rolls, pull them out when they’re just golden brown and slightly underbaked in the center.
Recipe Variations
- Maple Pecan Rolls: Add ½ cup chopped pecans and a drizzle of maple syrup to the filling.
- Apple Cinnamon Rolls: Add a layer of diced apples to the filling for a fruity twist.
- Chocolate Cinnamon Rolls: Swap ¼ cup of the brown sugar with cocoa powder for a chocolaty filling.
- Vegan Option: Substitute dairy milk with almond milk, and use vegan butter for a plant-based version.
Serving Suggestions
- With Coffee or Tea: Cinnamon rolls pair wonderfully with a hot cup of coffee or chai.
- For Brunch: Serve alongside fresh fruit, scrambled eggs, or even yogurt parfaits for a balanced meal.
- Dessert Option: Add a scoop of vanilla ice cream or whipped cream on top of a warm roll for a decadent dessert.
Freezing and Storage
- Storage: Store leftover rolls in an airtight container at room temperature for up to 2 days. For longer storage, refrigerate for up to a week.
- Freezing: Place unbaked rolls on a baking sheet and freeze until solid, then transfer to a freezer bag. Bake straight from frozen, adding an extra 5-10 minutes to the baking time.
- Reheating Tips: To keep rolls moist, reheat in a microwave with a damp paper towel on top, or in the oven at 300°F for about 10 minutes.
Special Equipment
- Rolling Pin: Helps roll out the dough evenly.
- Dental Floss: For cutting neat, even cinnamon rolls without squishing the dough.
- Baking Dish: Use a 9×13-inch pan for best results; glass or ceramic works well for even baking.
FAQ Section
- Can I make these rolls ahead?
- Yes! After shaping, cover and refrigerate them overnight, then bake fresh in the morning.
- How can I make the rolls lighter?
- You can substitute half of the all-purpose flour with bread flour for a chewier texture.
- Why did my rolls turn out dense?
- This usually happens if the dough didn’t rise long enough or the flour was packed when measuring.
- Can I add nuts or raisins?
- Absolutely! Sprinkle nuts or raisins over the filling before rolling up the dough.
- Can I make these cinnamon rolls the night before?Yes, absolutely! To make these cinnamon rolls ahead, simply follow the recipe up to the point where you arrange the cut rolls in the baking dish. Cover them tightly with plastic wrap and place them in the fridge overnight. In the morning, allow the rolls to sit at room temperature for 30-45 minutes before baking as directed. This way, you can wake up to nearly-ready cinnamon rolls with minimal effort!
- Why are my cinnamon rolls dense instead of fluffy?Dense cinnamon rolls can happen if the dough didn’t rise properly. Make sure your yeast is fresh, and double-check the liquid temperature to activate the yeast correctly (it should be around 110°F, warm but not hot). Also, avoid over-flouring the dough; it should be soft and slightly tacky, not dry.

Homemade Cinnamon Rolls
- Total Time: 3 hours
Ingredients
For the Dough:
- 1 cup warm milk (110°F)
- 2 ¼ tsp active dry yeast
- ⅓ cup granulated sugar
- 4 tbsp unsalted butter, melted
- 2 large eggs
- 4 cups all-purpose flour
- 1 tsp salt
For the Filling:
- ¾ cup brown sugar, packed
- 2 ½ tbsp ground cinnamon
- ¼ cup unsalted butter, softened
For the Glaze:
- 1 ½ cups powdered sugar
- 3–4 tbsp milk
- 1 tsp vanilla extract
Instructions
1. Activate the Yeast
- In a mixing bowl, combine warm milk with sugar. Sprinkle in the yeast and let it sit for 5-10 minutes, or until it’s frothy.
- Tip: Make sure the milk is around 110°F—warm, but not hot, so it doesn’t kill the yeast.
2. Make the Dough
- Add the melted butter and eggs to the yeast mixture. Stir until combined.
- Gradually add flour and salt, mixing with a wooden spoon until a dough forms. Knead the dough on a floured surface for about 8 minutes, or until smooth and elastic.
- Place the dough in a greased bowl, cover it with a clean towel, and let it rise in a warm place for about 1-1.5 hours, or until it has doubled in size.
- Encouragement: If the dough is sticky at first, don’t worry! As you knead, it will become more elastic and less sticky.
3. Prepare the Filling
- In a small bowl, mix the brown sugar and cinnamon. Set aside.
- Tip: If you like an extra gooey filling, add a tablespoon of honey or maple syrup to the mix.
4. Roll Out the Dough
- After the dough has risen, punch it down to release any air bubbles.
- Roll it out on a floured surface into a rectangle, about 16×12 inches.
- Encouragement: Don’t worry if your rectangle isn’t perfect. It won’t affect the final taste!
5. Spread the Filling
- Using a spatula, spread softened butter over the dough.
- Sprinkle the cinnamon-sugar mixture evenly over the buttered dough.
- Extra Tip: Leave a 1-inch border on one edge to help seal the rolls when you roll them up.
6. Roll and Cut the Dough
- Starting from the longer side, roll the dough tightly into a log.
- Slice the log into 12 equal pieces. Place the rolls in a greased 9×13-inch baking dish, leaving a little space between each.
- Tip: Use a piece of thread or dental floss to cut the dough—this helps keep the layers intact.
7. Second Rise
- Cover the dish with a towel and let the rolls rise again for 30-45 minutes.
- Encouragement: Don’t rush this step! This rise gives the rolls that soft, pillowy texture.
8. Bake the Rolls
- Preheat the oven to 350°F.
- Bake the rolls for 20-25 minutes, or until golden brown.
- Tip: If the rolls are browning too quickly, cover them with foil for the last 5 minutes.
9. Make the Glaze
- While the rolls are baking, whisk together powdered sugar, milk, and vanilla until smooth.
- Tip: Adjust the glaze’s thickness by adding more powdered sugar (for a thicker glaze) or more milk (for a thinner glaze).
10. Glaze and Serve
- Pour the glaze over the warm rolls, letting it seep into every crevice.
- Serve immediately and enjoy every gooey bite!
Nutrition
- Serving Size: 12
- Calories: 420
Conclusion
Now you’re all set to make the ultimate homemade cinnamon rolls! Whether it’s for a holiday brunch, a family breakfast, or just a cozy weekend treat, these cinnamon rolls are sure to be a hit. So go ahead, put on your apron, and dive into the sweet, comforting world of homemade cinnamon rolls—you won’t regret it!
And there you have it—the ultimate guide to baking your very own homemade cinnamon rolls! With their soft, pillowy texture and gooey cinnamon filling, these rolls are bound to become a family favorite. There’s something so satisfying about making them from scratch, and the effort is always rewarded with a warm, fragrant treat that’s impossible to resist.
Whether you’re a seasoned baker or just starting out, this recipe is forgiving and easy to follow, so don’t be afraid to give it a go. Homemade cinnamon rolls are perfect for lazy weekends, holiday brunches, or any time you’re craving something sweet and comforting. And the best part? You can make them your own with fun variations like nuts, chocolate, or even fruit.
So go ahead, roll up your sleeves, and dive into the wonderful world of homemade cinnamon rolls. Trust me—your kitchen will smell amazing, and the smiles on everyone’s faces will make it all worthwhile. Enjoy every delicious, cinnamon-swirled bite!